A rack should make the system easier to own.
The right rack does more than hold boxes. It gives the system room to breathe, keeps cables understandable, protects connection points, and lets a technician reach the equipment without dismantling the room.
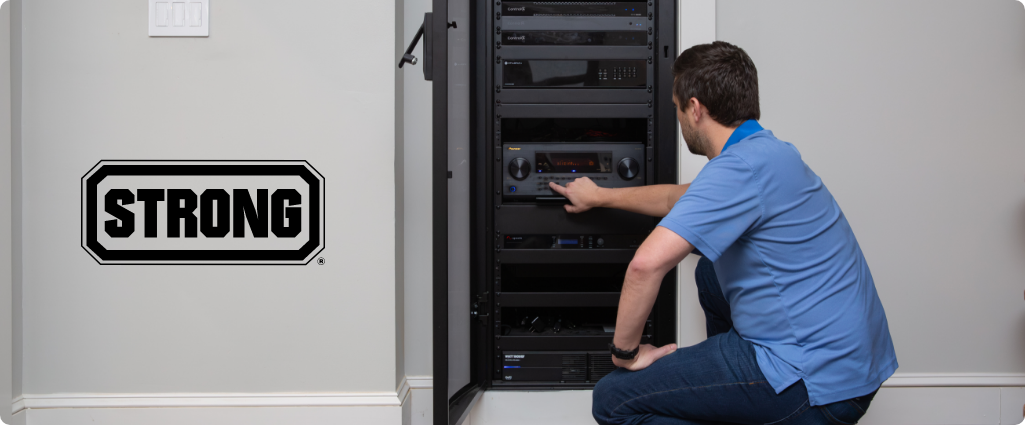
Three rack shapes solve different problems.
A finished cabinet is not automatically better than an open rack, and a tall rack is not automatically more capable. The location, equipment, service path, and appearance determine which shape makes sense.
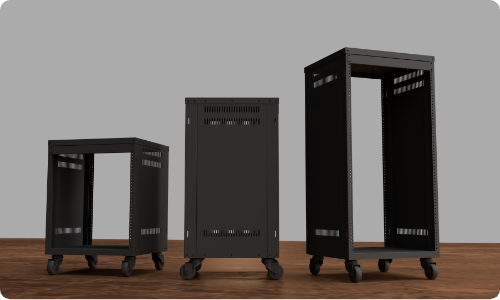
Contractor-style rack
A practical fit for a dedicated equipment room where fast installation, cable access, and easy service matter more than a finished enclosure.
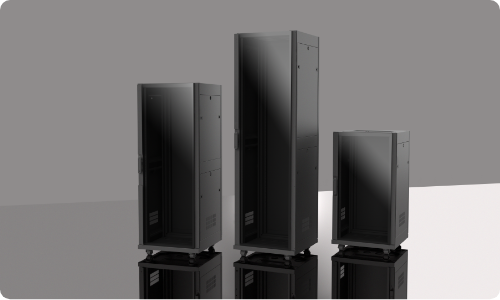
Enclosed floor rack
A cleaner visual choice for a finished room when doors, removable panels, cooling, and the door-swing area are planned together.
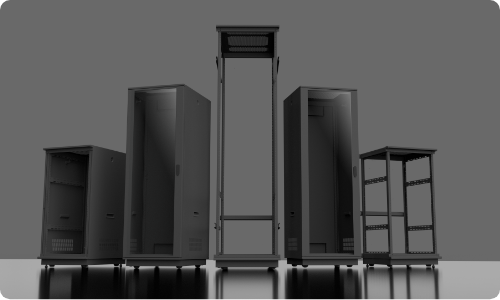
Custom or modular rack
Useful when the project needs a particular height, depth, accessory package, or field-built configuration around a known equipment list.
Simple rule: choose the rack after the equipment schedule and room conditions are known. Selecting the cabinet first can force compromises in depth, cooling, cable bends, and service access.
Overall depth is not usable depth.
Amplifiers, receivers, power managers, and large switches need space for the chassis plus plugs and safe cable bends. Doors and rear panels reduce what is truly available.
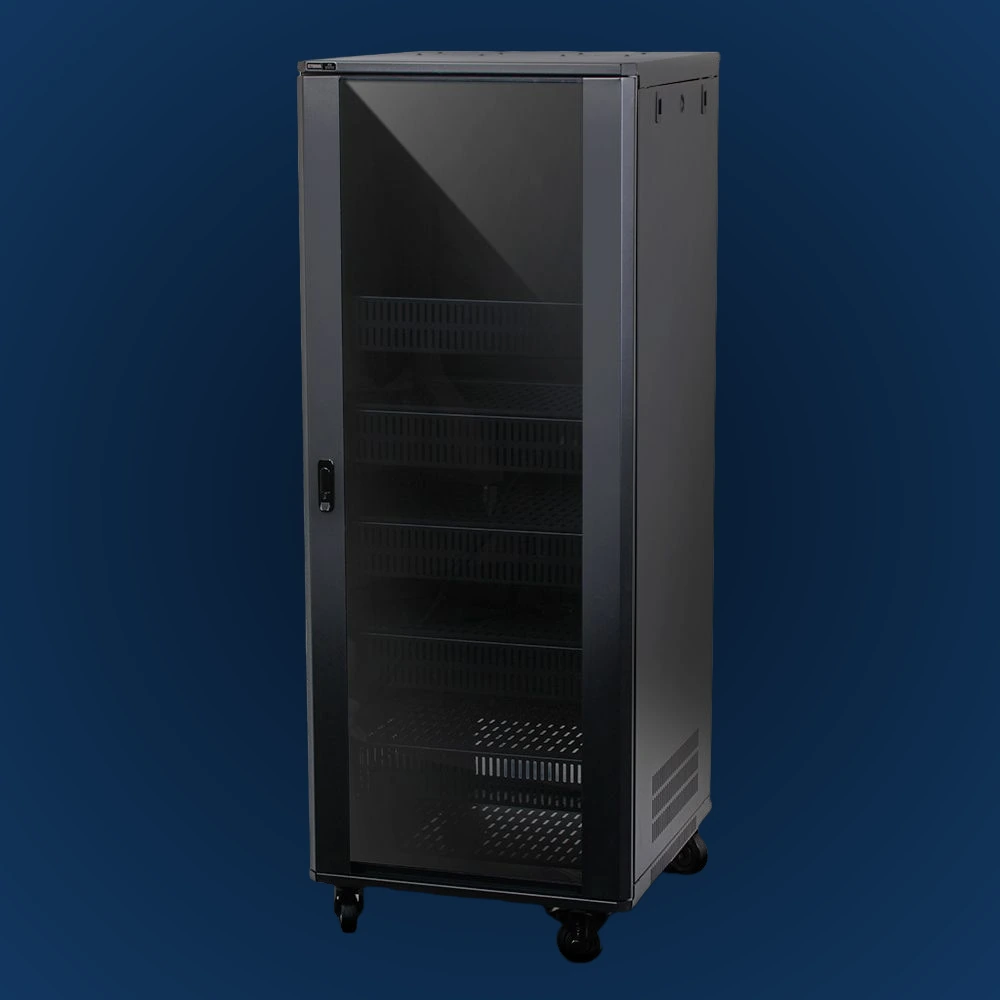
Three different depth numbers matter.
Strong's current 24-inch-depth FS Series lists these cabinet measurements. They show why a product name alone does not tell you whether every component will fit.
Rack units are only the starting count.
One rack unit, written as 1U, is 1.75 inches of mounting height. The equipment total must still leave space for shelves, vents, cable management, power, and realistic future additions.
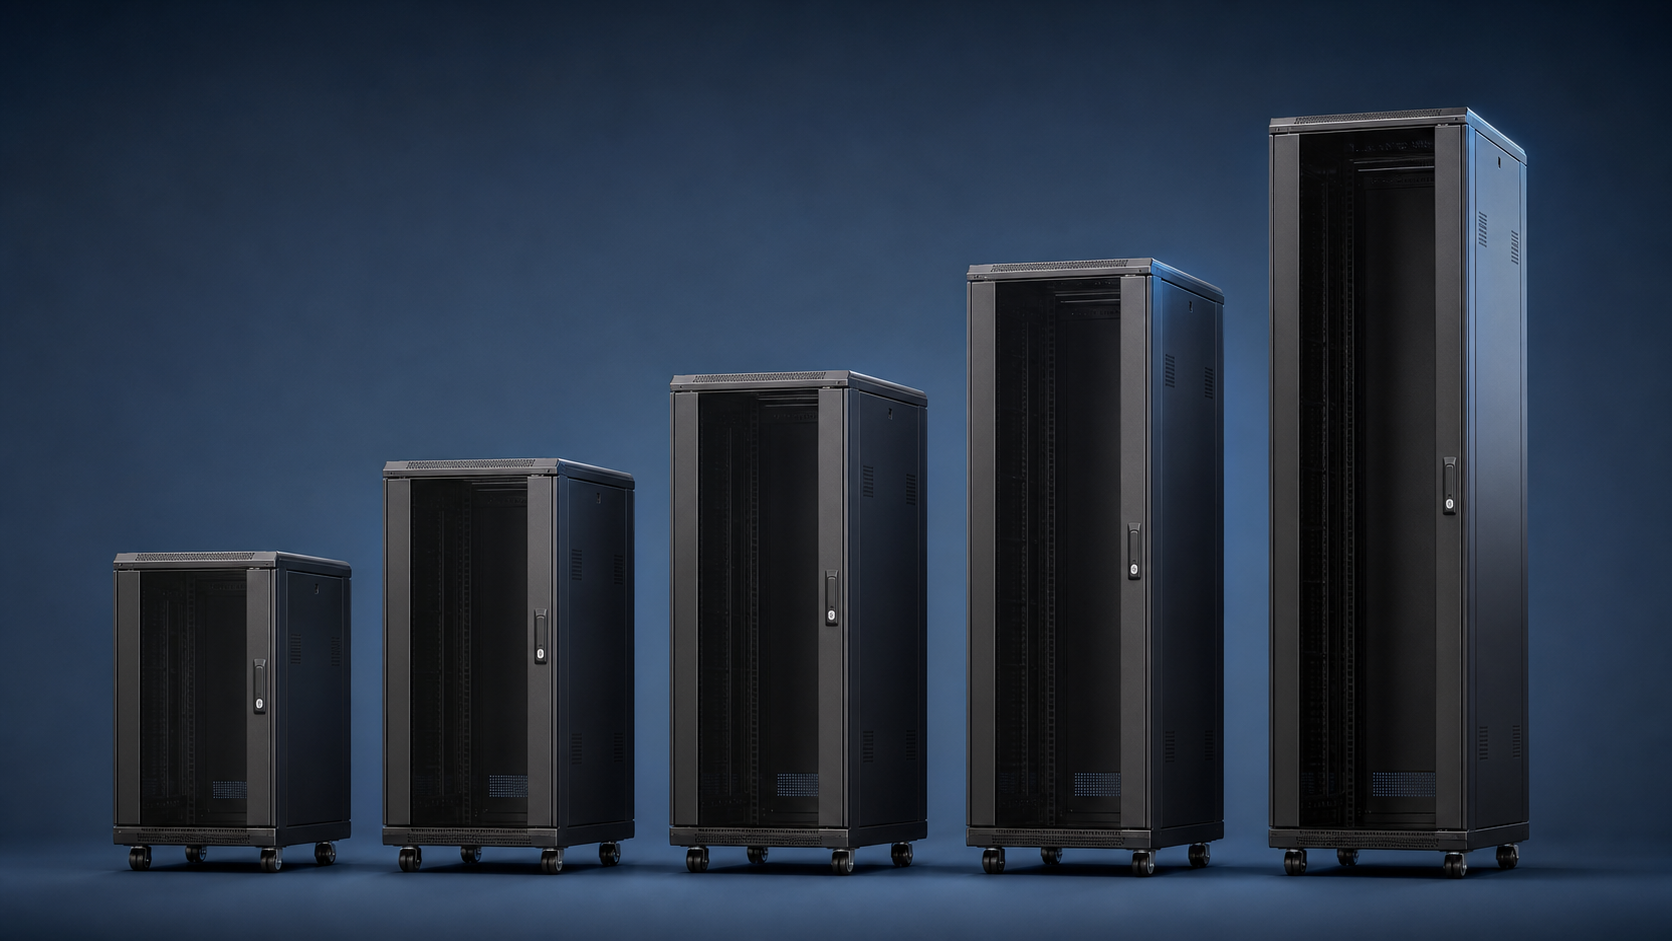
| FS size | Overall height without casters | Height with casters | Typical planning direction |
|---|---|---|---|
| 15U | 30.25 in | 34 in | Compact network, control, or focused AV system |
| 21U | 40.75 in | 44.5 in | Moderate equipment list with planned accessories |
| 27U | 51.25 in | 55 in | Mixed network, control, power, and AV |
| 35U | 64.6 in | 67.5 in | Larger whole-home system with expansion room |
| 42U | 76.8 in | 79.7 in | Full-height infrastructure and larger equipment schedule |
Dimensions are from current Strong FS Series product documentation reviewed August 18, 2026. The “typical planning direction” is Denali Tech guidance, not a manufacturer capacity promise. Confirm current model specifications before ordering.
The equipment needs an intentional order.
There is no single layout for every project, but weight, heat, cable paths, wireless performance, and service frequency should determine placement—not the order in which boxes arrive.
Every connection should be traceable.
Labels, patching, lacing, documented ports, and accessible power reduce guesswork later. Empty space is useful when it supports cooling, cable movement, or a known expansion plan.
Measure the complete service path.
A rack can fit the room and still fail the project if it cannot pass through the doorway, clear the ceiling, open its doors, roll forward, or reach the planned electrical and cable locations.
Delivery path
Confirm stairs, turns, doors, thresholds, finished flooring, ceiling height, and whether the populated rack will ever need to move.
Operating space
Plan power, ventilation, noise, cable entry, door swing, rear access, lighting, and the distance from walls or millwork.
Service position
Leave enough cable travel and floor space for the rack or service panels to move without pulling connectors or damaging finishes.
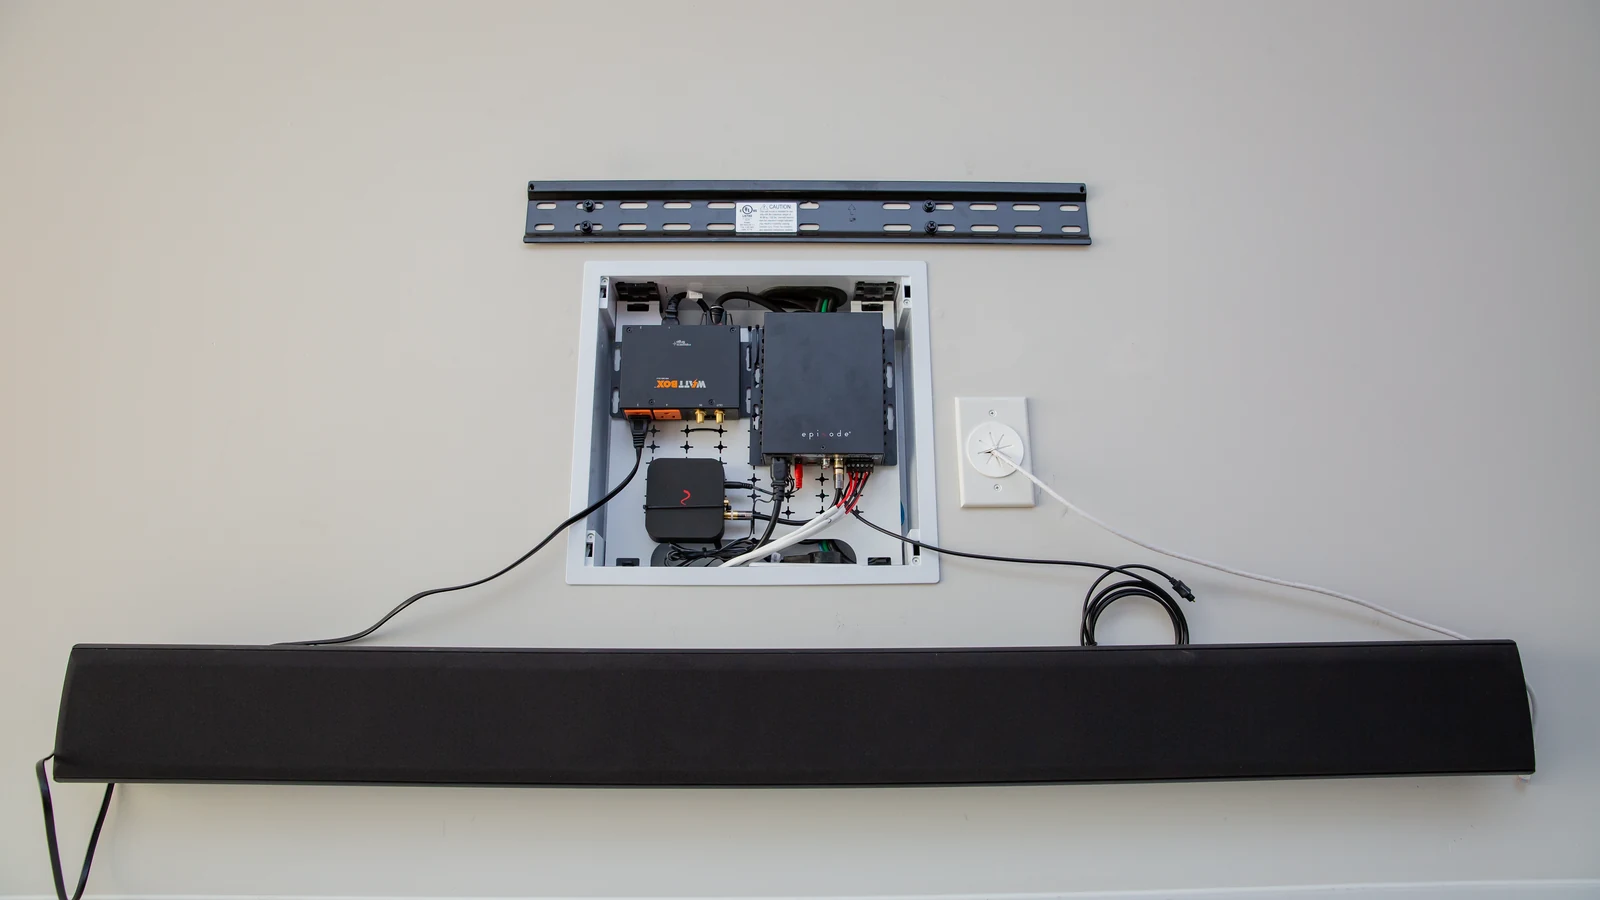
A clean rack cannot rescue a poorly planned TV wall.
Backing, power, signal pathways, soundbar alignment, ventilation, and access behind the display should be decided before the wall is finished.
The mount changes the cable plan.
A full-motion mount needs protected slack that moves safely. A low-profile mount needs recessed connections that do not push the TV forward. Large displays need the correct structure, mount rating, fasteners, and installation method.
For a side-by-side visual comparison, see our Strong TV mount guide.
Bring these answers to the rack conversation.
A reliable recommendation needs the room, equipment, and future plan. Photos and measurements are more useful than choosing a rack from appearance alone.
- Where will the rack live, and how will it reach that location?
- What is the exact equipment list, including chassis depth and weight?
- How will cool air enter and warm air leave the room?
- Can a technician reach both the front and rear after installation?
- Where do power, grounding, internet, and structured wiring enter?
- Which rooms, cameras, speakers, or sources may be added later?
- Will fan or drive noise be audible from a bedroom or theater?
- What must remain reachable without removing finished millwork?
What homeowners usually ask.
Can the rack go in a closet?
Yes, when the closet has suitable power, cable paths, ventilation, and enough front and rear service clearance.
How much empty space should I leave?
There is no universal percentage. Allow room for the actual shelves, vents, cable management, power, planned additions, and safe access.
Is cabinet depth the usable depth?
No. Overall cabinet depth and rail-to-rail usable depth differ, and connectors still need safe bend space behind the equipment.
Official specifications reviewed
Checked August 18, 2026 against Strong's current FS Series lineup, FS Series product specifications, and rack sizing chart. Product availability and specifications can change. Final selection must confirm the current model, usable depth, load rating, included accessories, anchoring, power, airflow, and local installation conditions.
Choose the rack, then design what lives inside it.
Want the rack sized before equipment is ordered?
Send the room, equipment list, and future plans. Denali Tech can map rack height, usable depth, power, cooling, cable entry, and service access as one system.