Home / Guides / Strong TV Mount Comparison
Client television planning guide

The TV is visible. The mount decides whether the wall looks finished.

Compare fixed, tilt and full-motion Strong mounts, then match the motion, wall profile, structure and hidden wiring to the room before the television is hung.

Published July 13, 2026By Denali Tech Team13 min read
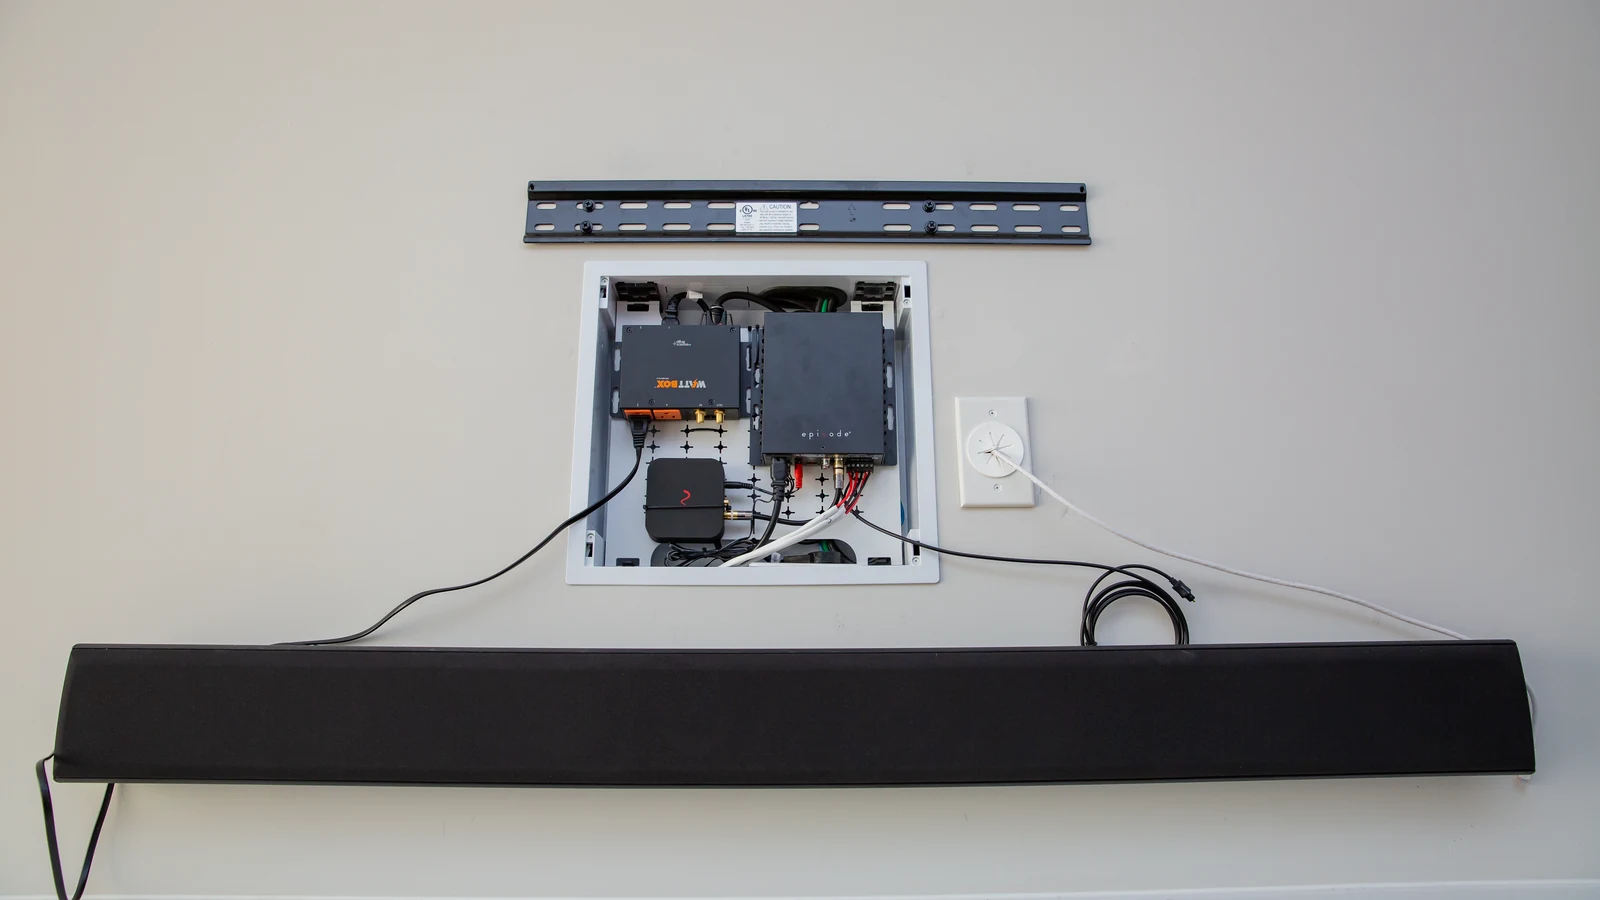
Strong television wall mount above a recessed equipment box and soundbar during installation
The finished screen hides a mount, structure, power, source equipment, cable paths and service access.
Fast answer: choose a fixed mount for the cleanest stationary installation, a tilt mount when the television is above seated eye level, and a full-motion mount when the screen must turn toward different areas or move out for access. Use Carbon for the everyday professional installation and Razor when an ultra-thin television needs the tightest wall profile. Final selection still depends on the exact TV weight, VESA pattern and wall structure.

Start with movement—not television size

Screen size only narrows the mount family. The room decides how the television should move, and the structure decides whether that motion can be supported safely.

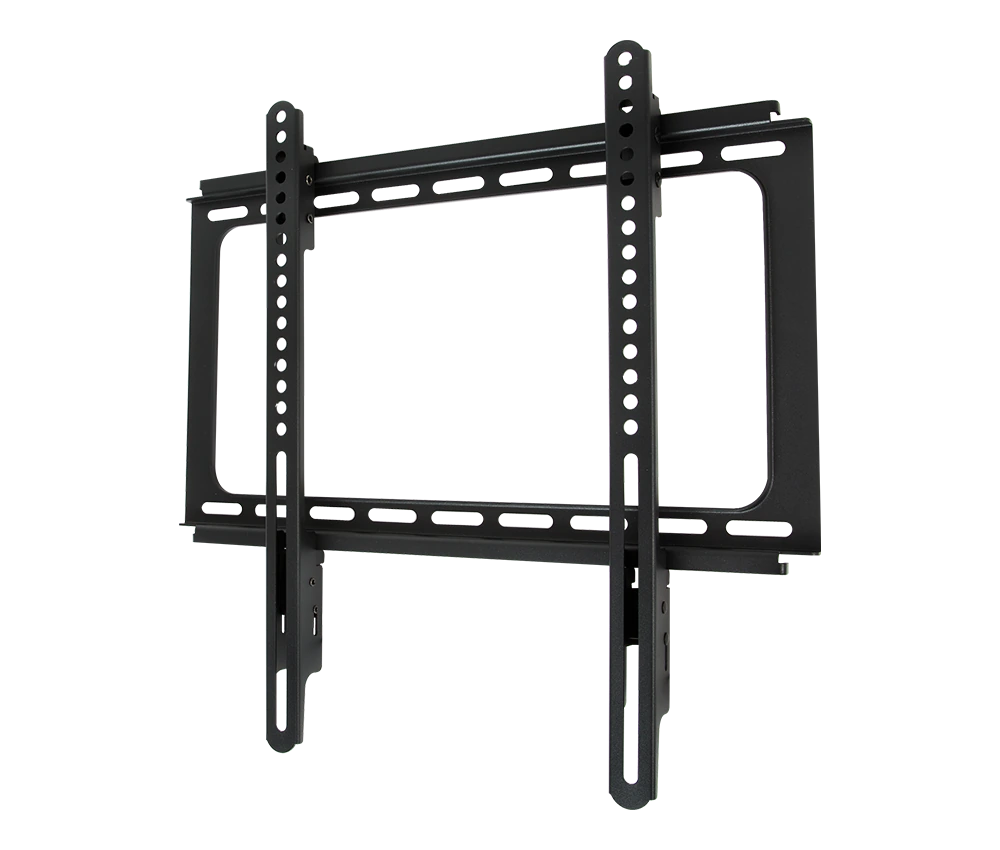
Strong Carbon fixed television wall mount
LOWEST EVERYDAY PROFILE

Fixed

The screen stays parallel to the wall. This is the simplest and most visually restrained choice when the viewing position is already correct.

  • No arm movement or changing cable geometry
  • Best for eye-level screens viewed straight on
  • Carbon models sit about 1.65 inches from the wall
  • Open wall plate makes outlet and backbox planning easier
Best fit: bedrooms, media rooms and living rooms where the screen will not be aimed after installation.
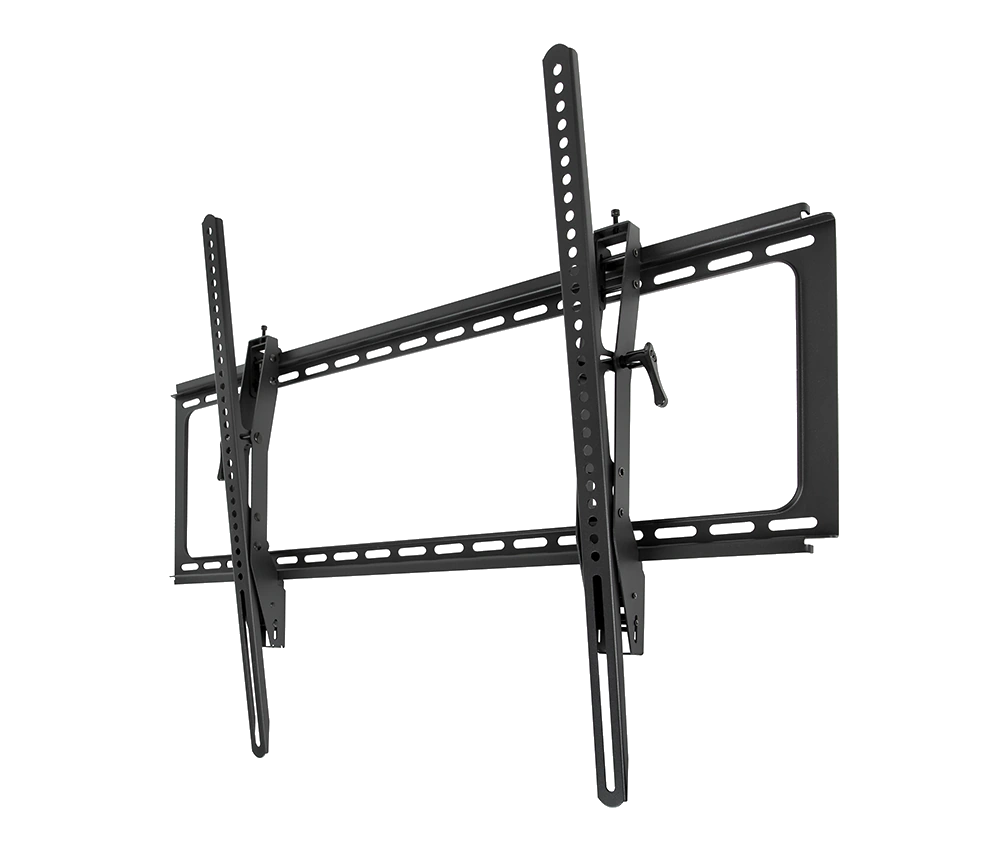
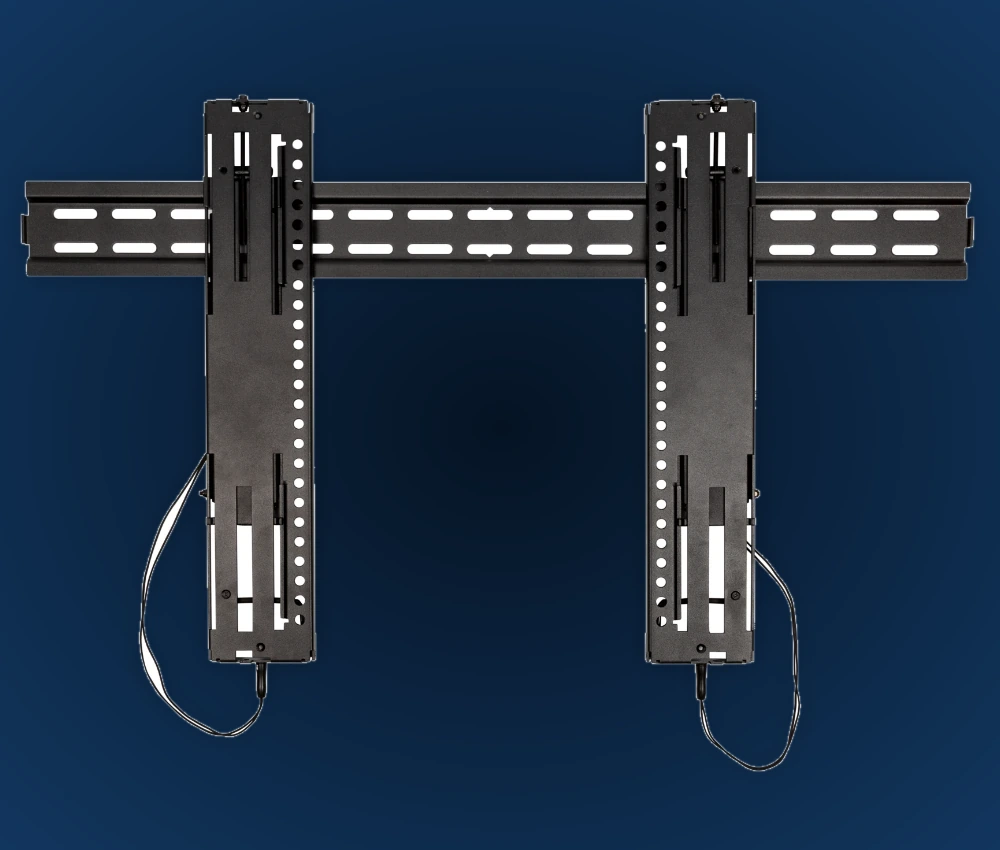
Strong Carbon tilt television wall mount
ABOVE EYE LEVEL

Tilt

The screen angles downward to reduce the viewing penalty created by mounting above seated eye level.

  • Carbon tilt range is approximately 12° down and 5° up
  • Helpful above furniture or a carefully approved fireplace
  • More rear clearance than fixed for connectors
  • Still keeps the television visually close to the wall
Best fit: elevated installations where the screen does not need to swing left or right.
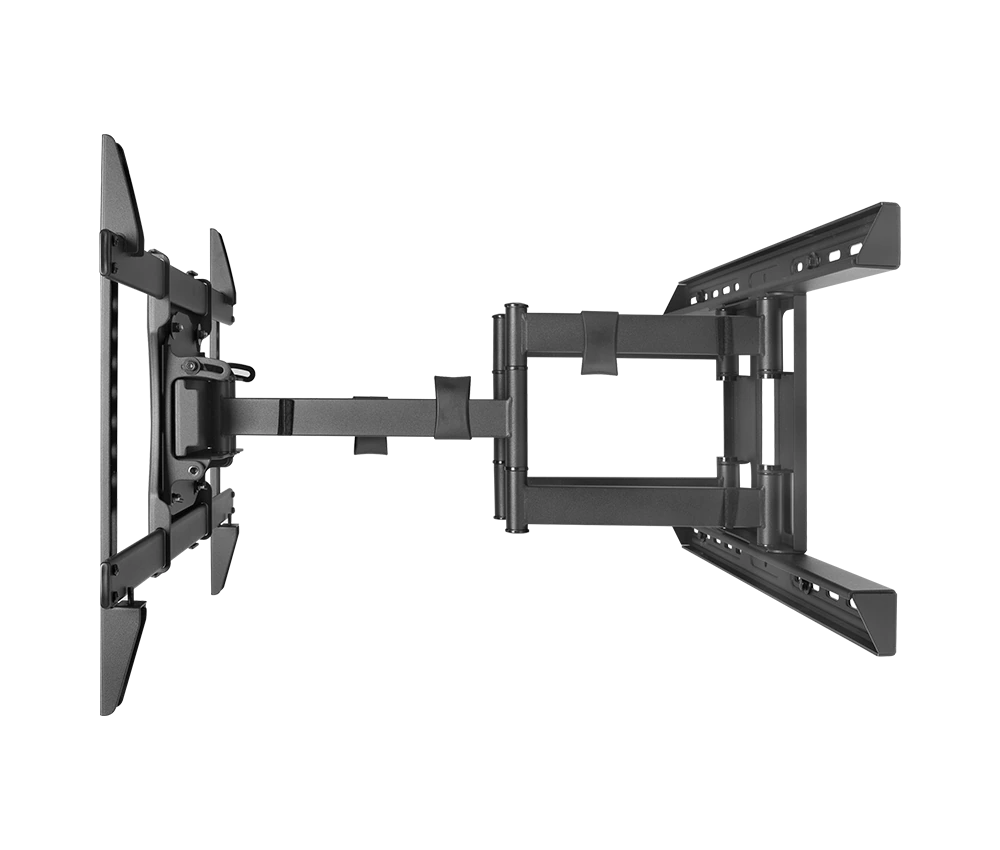
Strong Carbon dual-arm articulating television mount fully extended
AIM + SERVICE ACCESS

Full motion

An articulating arm pulls the screen away from the wall and turns it toward different seating areas.

  • Carbon dual-arm models extend about 23 or 28 inches
  • Up to 180° swivel depends on TV width and wall clearance
  • Useful for open plans, corners and off-axis viewing
  • Requires intentional cable slack and stronger structure
Best fit: kitchens, great rooms and flexible spaces where one fixed viewing direction will not work.

Strong Carbon mount comparison

Mount typeSize choicesRated load by sizeWall profileMotionBest planning use
Carbon fixedM: 24–55 in
L: 40–80 in
XL: 49–90 in
100 / 150 / 200 lbAbout 1.65 inStationary; ¾-in post-install adjustmentClean everyday installation at the correct viewing height
Carbon tiltM: 24–55 in
L: 40–80 in
XL: 49–90 in
100 / 150 / 200 lbAbout 2.6 in12° down / 5° up; ¾-in post-install adjustmentScreen above eye level without side-to-side aiming
Carbon single-armM: 24–55 in100 lbAbout 3.25 in retractedAbout 19-in extensionSmaller TV that needs full motion from a compact wall plate
Carbon dual-armL: 40–80 in
XL: 49–90 in
150 / 200 lbAbout 3.25 in retractedAbout 23 / 28-in extension and up to 180° swivelLarge screens, frequent motion and greater structural stability

Current Strong Carbon family specifications were checked against the official Snap One product pages and Carbon Series cut sheet on July 13, 2026. Screen size is only a family range; verify the exact model, TV weight, VESA pattern, stud layout and published instructions before ordering or installation.

Do not choose from inches alone

“It fits a 75-inch TV” is not enough information. Two televisions with the same diagonal measurement can have different weights, bolt patterns, connector locations and chassis depths.

Actual TV weight

Use the display weight without its stand and stay below the exact mount rating. Never estimate from screen size.

VESA bolt pattern

Measure the horizontal and vertical mounting-hole spacing and confirm that the selected arms support it.

Stud and blocking layout

Full-motion loads pull away from the wall. Fastener location, framing, blocking and wall material must be evaluated before mounting.

Connector clearance

Power, HDMI, Ethernet and optical connections cannot be crushed between the television and wall.

TV bottom edge

Low or centered VESA holes change where the screen lands relative to the mount plate, soundbar and furniture.

Real motion envelope

A wide television may contact the wall before the mount reaches its published swivel angle. Check the room geometry.

Match the mount to the wall

Wood studs

Confirm spacing, stud condition and fastener penetration. The wall plate must land on reliable structure, not only drywall.

Steel studs

Use an installation method engineered for the specific stud gauge, load and motion. Full-motion loads require special care.

Masonry

Brick, block and concrete need material-appropriate anchors, edge distance and verification that the face is structural.

Stone or tile

The finish is not the structure. Plan penetrations, standoffs and backing without cracking or loading the veneer.

Built-ins and millwork

Coordinate the VESA center, screen outline, ventilation, trim reveal and access before cabinetry is fabricated.

Fireplace wall

Verify heat, chimney and flue conditions, viewing height, mantel clearance, hidden utilities and local requirements before drilling.

Fireplace reality check: tilting a TV can improve the angle, but it cannot correct a screen that is fundamentally too high or exposed to unsafe heat. Check the manufacturer’s temperature limits at the proposed location and test the wall under real fireplace operation before approving the design.

Pre-install checklist

1. Mark the screen—not the mount

Place the proposed TV outline at the actual finished height so the client can judge scale and viewing comfort.

2. Confirm every specification

Record model, weight, VESA pattern, chassis depth, connector direction and the soundbar relationship.

3. Inspect the structure

Find framing, blocking, plumbing, wiring, ductwork and any fireplace components before holes are drilled.

4. Design the hidden layer

Position power, low-voltage, conduit, backbox and source equipment inside the mount and TV clearance zones.

5. Test full travel

Move a full-motion mount through its intended range while watching cable bend radius, wall contact and furniture clearance.

6. Document service access

Keep release cords reachable, label cable destinations and show the client how the screen moves safely.

A simple client explanation

“Fixed gives the cleanest stationary look. Tilt corrects an elevated screen. Full motion aims the TV and gives us more service access. Carbon is the everyday professional family; Razor is for the smallest visible wall gap. We choose the exact model only after checking your TV, wall structure, viewing position and everything hidden behind the screen.”

Want the television location planned before anyone opens the wall?

Send the television model, room photos, wall dimensions, seating location, desired soundbar and source equipment. Denali Tech can map the screen height, mount type, structure, power, cabling and hidden equipment before installation.

Official Strong references

Related planning guides