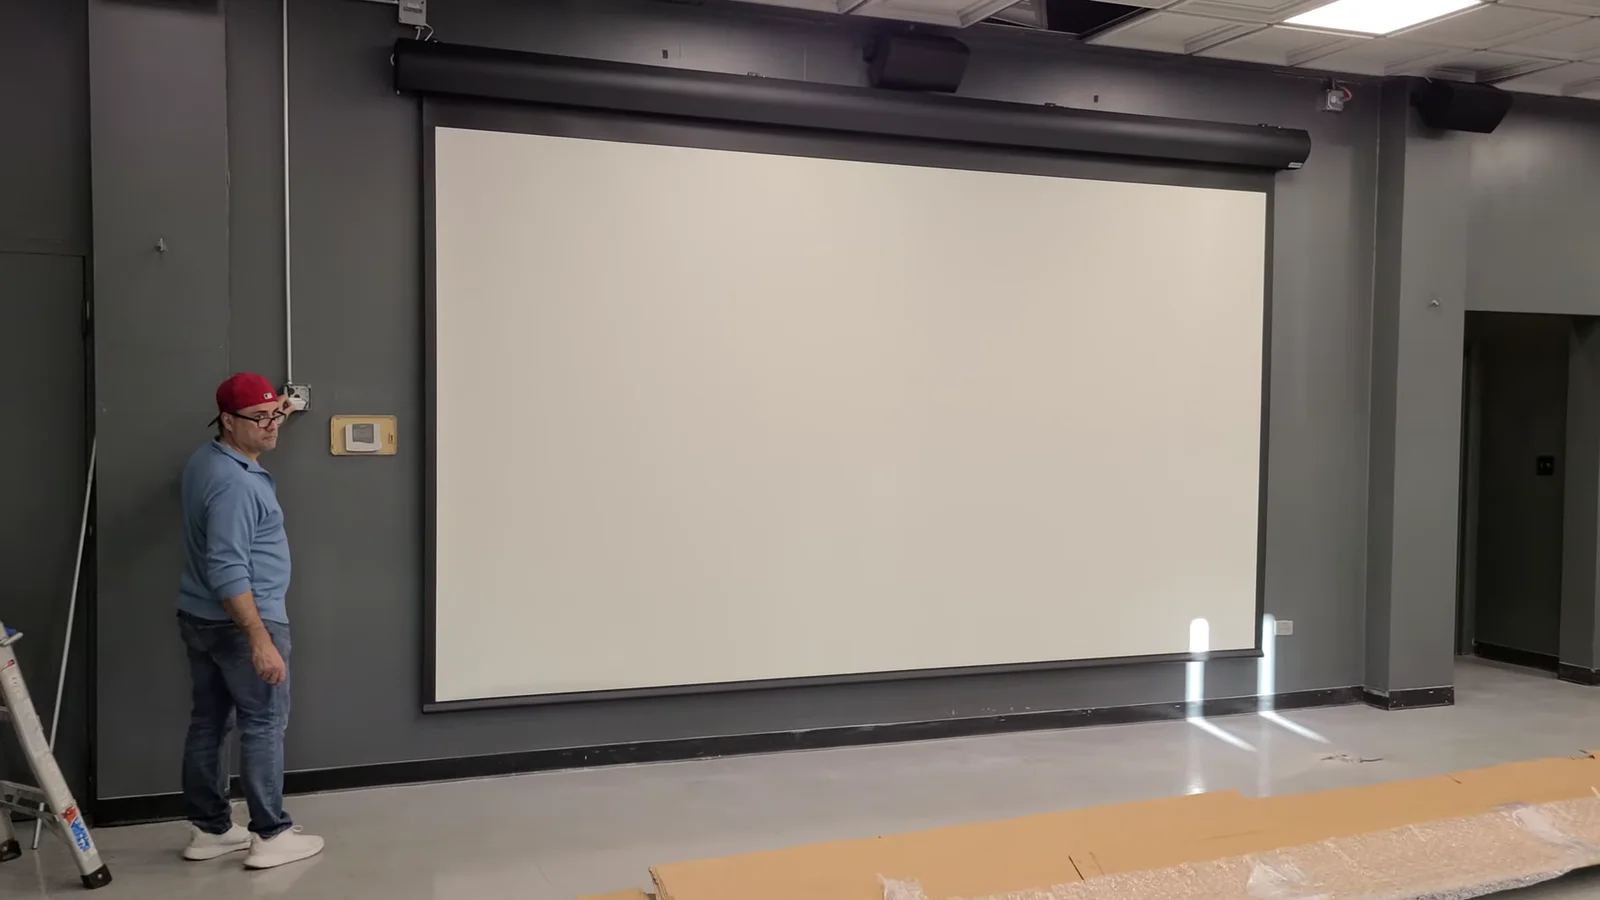
The screen case is a major architectural element and needs deliberate placement, support and finish coordination.
Watch the real screen travel from deployed to retracted.Denali Tech project video · 36 seconds
Four things visible in the finished installation
The deployed screen must align with the projector’s image and preserve comfortable sightlines from the intended seats.
The material and lower bar need clear movement without contacting furniture, speakers, trim or other construction.
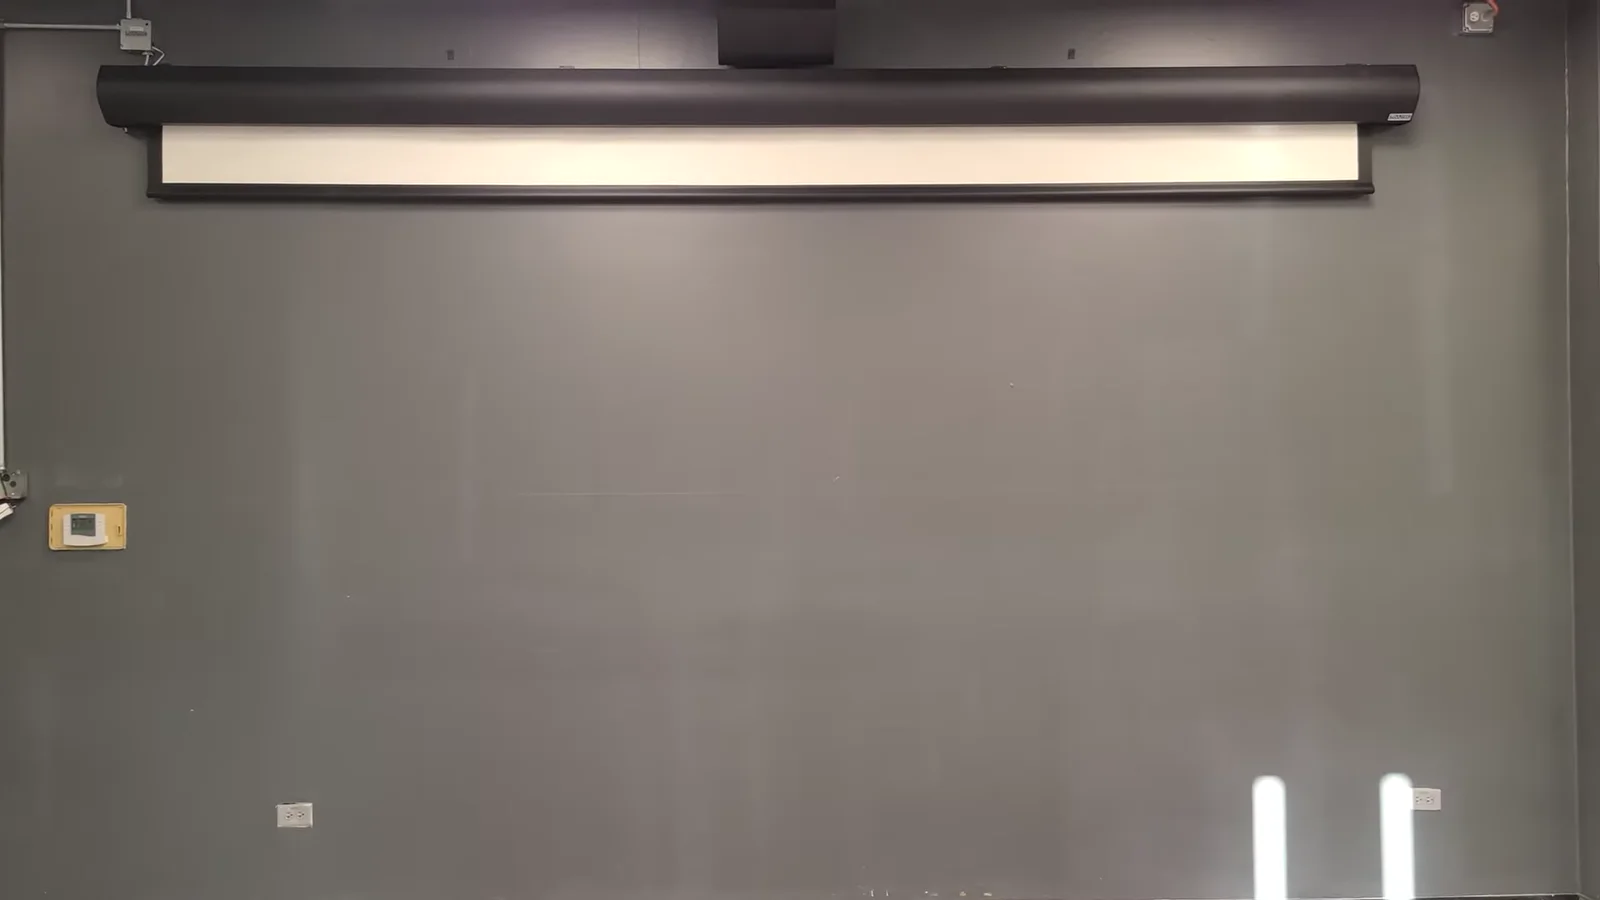
When raised, the system protects the screen surface and frees the wall for another purpose or a cleaner appearance.
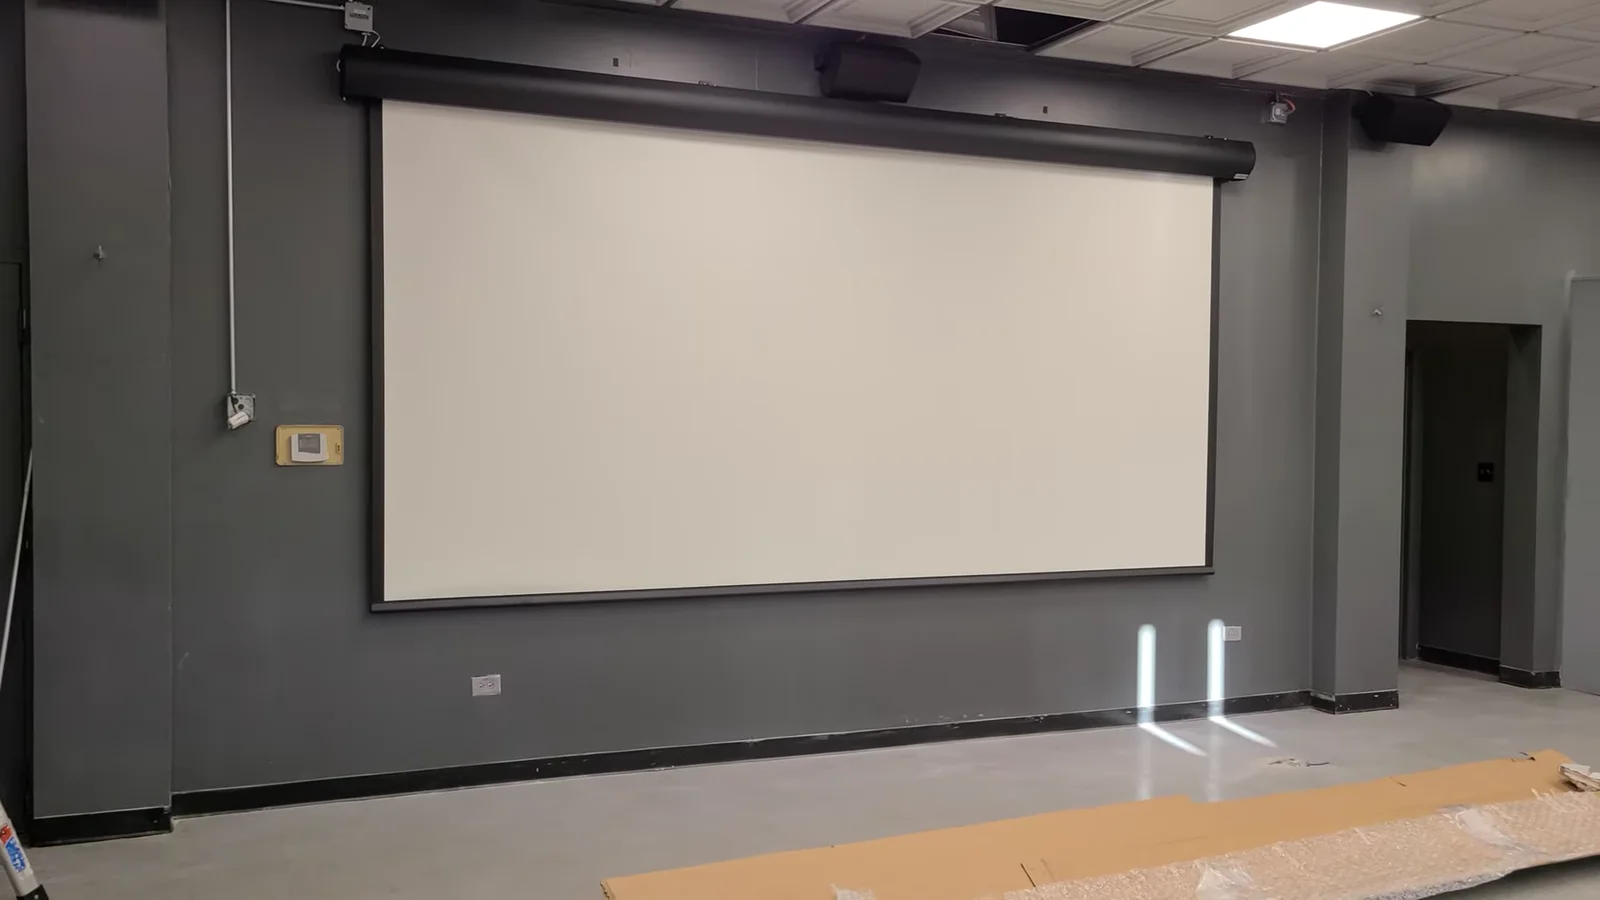
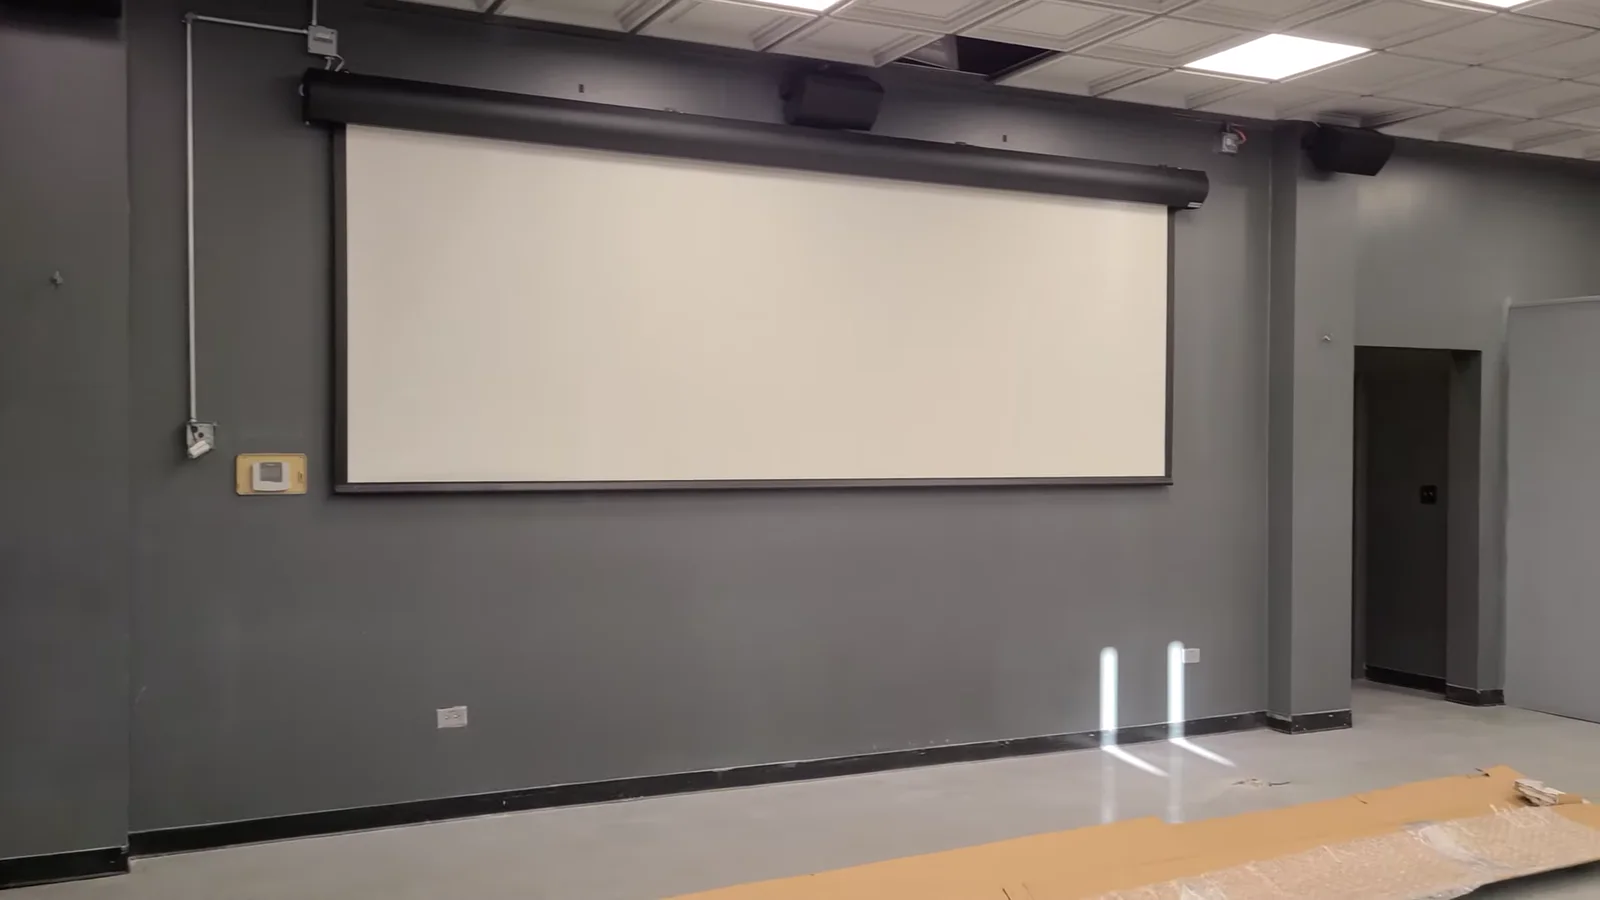
Deployed, moving and retracted
These high-resolution frames come directly from the Denali Tech installation video. Together they show the states that must be tested—not just the final glamour shot.
Nine decisions that belong on the drawing
Confirm screen size, aspect ratio, image height and the primary seating position together.
Verify throw distance, lens shift and image coverage before fixing either device location.
Use the selected manufacturer’s approved drawing—not the nominal screen diagonal—to coordinate the wall.
Provide blocking or engineered support at the actual mounting points and account for the complete assembly weight.
Match gain, viewing cone, room light and acoustic requirements to the projector and seating plan.
Decide whether speakers sit around or behind the image before choosing a perforated or woven surface.
Coordinate the required circuit, low-voltage trigger or automation interface and safe service disconnect.
Document the finished drop, lower stop and every object that could enter the screen’s path.
Keep adjustment points, wiring and the motor area reachable after trim and finishes are complete.
The installation sequence
Measure the room, wall, seats, projector path and conflicts.
Lock the approved screen drawing, structure, power and control plan.
Support and level the enclosure using the specified attachment points.
Connect power and supported control without creating inaccessible wiring.
Set limits, test travel, align the image and demonstrate normal operation.
What should be tested before handoff
Full down: correct stop height, flat viewing surface and no contact with the room.
Full up: clean retraction and a reliable stop inside the case.
Repeated travel: several complete cycles without rubbing, hesitation or unusual sound.
Image alignment: projector geometry fills the intended surface without overscan onto the wall.
Control: wall control, remote or automation command behaves consistently.
Power recovery: the system returns to a known condition after power is restored.
Audio relationship: speakers, screen surface and listening positions work as designed.
Owner handoff: normal operation, stop procedure and service contact are documented.
The honest takeaway
The screen is only one part of the picture
A 190-inch image can be impressive, but size cannot correct poor black levels, uncontrolled daylight, a mismatched projector, uncomfortable seating or compromised audio. The best theater result comes from designing the screen, projector, room light, speakers, seating and control system together.
Manufacturer planning references
Screen Innovations motorized-screen support · Stewart Filmscreen RS1 overview. Reviewed August 17, 2026. These references explain general motorized-screen considerations; they do not identify the exact model shown. Final dimensions, weight, mounting, wiring, clearances, limits and service procedures must follow the approved documentation for the selected screen.
Planning a projection room before construction is finished?
Send Denali Tech the room dimensions, reflected ceiling plan, seating idea and projector or screen preferences. We can identify the decisions that need to be settled before framing, power and finishes are locked.